Composting Toilet
All the commercial toilets are giant compared to what we have space for in an Econoline van, and lack features I wanted, so I had to make my own. I would gladly have bought something instead of a couple of months of design and making tooling etc. I did not want to use any of the very cheap urine diverter bucket toilet things available on eBay etc. Their placement inside the bucket and other aspects did not fit what I wanted to live with. I want some level of comfort, even if in miniature.
From what I’ve gleaned from watching a ton of van life videos is the slightest bit of urine in the #2 area is a problem. I didn’t want to use any funky cheap bucket attachment and risk failure. When I am on a rare and expensive adventure, I do not want bathroom failures to make a nightmare.
My composting toilet design was based on these design constraints:
Don’t take up very much more space than the bucket toilet I had been using did.
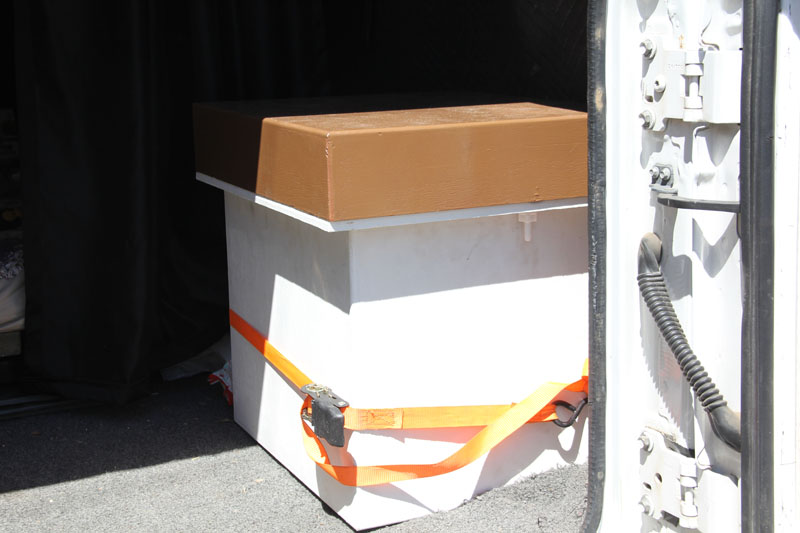
Fit in the space behind the wheel well and in front of the jack and fit as close to the van wall as it can, and have the base section be as narrow as possible to preserve as much floor space as possible, which means the top part that holds the toilet seat itself is wider than the base. Even though the huge extra design challenge is all for only a tiny preservation of floor space, when we’re dealing with such a small living space, I want to maximize every available inch by minimizing the foot print of things as much as possible.
It had to achieve all aspects of the $1000 urine diverting composting toilets that are commercially available, including ventilation and urine diverting, and add some features none of them have, like:
Effortless removal for cleaning/replacement of the urine diverter. There are some build-it-yourself options out there that start with a $100 molded plastic piece that is built into the toilet build. It sounds cheap, and I was tempted by several of these products, but in the end, my design is a widely available part for $5, so if it gets the slightest bit nasty I’ll just toss it out. Not so easily done with a $100 molded piece, maybe coming from another continent.
Most of the commercial (and expensive) composting toilets store urine in a container in the toilet. They are limited in capacity, and require some effort to unlatch and remove. Some people remove the storage tank and connect a pipe to a tank under the vehicle, but it’s kind of a funky exposed system. Ours is intended to store as much as 3 1/2 gallons below the toilet under the floor of the van and the plumbing is all contained within the toilet.
Commercially available toilets do not trap the urine tank odors. Sure, vinegar largely neutrilizes the smell from old urine, but frankly, it still stinks with a nasty urine+vinegar smell. Our drain tube, the way it has to kinda sweep up a bit in order to connect down through the floor creates a small trapped bubble of water in the line, which traps smells from the tank from getting into the van. This was originally a design feature involving an actual P-trap, but upon installation we discovered that the complication was not necessary. We ended up with the effect just by nature of how things work out with this design.
The cover material (pine shavings) is stored in the toilet itself. Now, it is true that the space only holds cover material for a few uses before it needs to be refilled, but basically it means we can store back stock outside of the van rather than a separate container within the van.
Because we’re building this ourselves, we don’t have to use the incorrect axial fan that the commercial toilets use. We are using a centrifugal fan (you might know it as a “squirrel cage fan”, and we put it on a speed control knob so we can turn it down to a silent level at night. A centrifugal fan is far more efficient at moving air through a restriction like a duct hose than an axial fan, which means we can use a tiny, very low power consuming, and very quiet fan.