Table and Chair Caddy Build Notes
Start assembly by first attaching the back board to the van door. Drill 1/4” holes through the back board and the door panel so they match (for the mounting holes). Double check that my hole location dimensions fit your van door ok and work out for the length of the panel nuts you might have sourced.
Use panel nuts, also called clip nuts or U-style nuts in the door. Use 1/4-20 bolts, washers, and lock washers.
Pin and Glue
Remove the back board and then pin and glue the other parts on. I used a pin gun, but one could use wire brads and a small hammer. Use Titebond 2 wood glue.
Bottom left corner
The bottom left corner needs to have a bit of relief to clear the van’s door jamb when the door is closed. What I did was built that area square, and used a hand saw to chop out the corner to fit after the caddy was built. Or, you can follow the plans and remove a notch to begin with, but you might still have to adjust a little bit with a hand saw. Let me know how the notch dimensions work for you.
Wood finish or paint?
I finished my caddy with paint. First, card lightweight spackle into the wood to fill the grain and any imperfections, then latex primer, then enamel paint. Then maybe let it cure for a few days in a hot space. If using a wood finish, I like Minwax Antique Oil Finish.
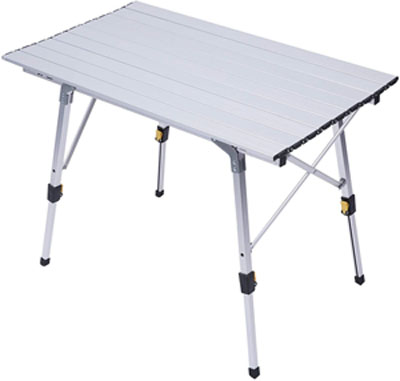
The kind of table I am using is this: